4/28/22
After taking a few days off, I have started fiber-glassing the wind screen fairing. I am following the excellent tips and tricks from the Osh 2021 presentations. I had visions of making a really neat layup, much like the Osh demo, but that went out the window after my first layup. I am using black tint on the first few layers so when looking from the inside thru the canopy, one would see black fiberglass. Of course, it never occurred to me to use a vinyl tape color other than black, so I am finding it hard to se the tape edge when laying down the fiberglass. It is going much slower than expected, and I am burning thru more glass than I planned.
Onward so I get upward.
June 2022 EDIT: There is no need to add dye to the fiberglass layers if one is using Sika flex or if one is bonding the fairing onto the plane after it has been molded. The exposed pieces will need to be filled and painted anyways, and the part that show thru the plexiglass will be coated with sikaflex black primer. my parts did not come out perfect, so the black fiberglass bits still need filling, priming and painting.
5/7/2022
Front windscreen fiber-glassing is done. I popped it off to trim and finish. Learned a lot this time, but didn't learn enough to make it worthwhile to redo.
5/13/2022
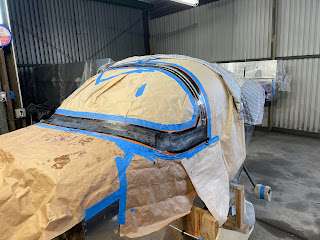
Sanding windscreen fairing. I made a sanding block use my French curve from high school and belt sander. I used Aeropoxy and the stuff is pretty hard and sands well. Next step will be to smooth edges and start filling outside to smooth contour.
The sanding block allows me to sand at an angle and match the desired curve.
I thought I was building a metal airplane.
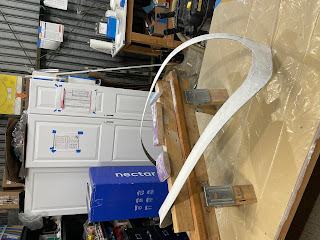
5/24/22
I think i am getting the hang of fiberglass stuff.
I have been working on the windscreen fairing.
In the las post, I was final sanding the edges to the proper width using the impression of the electrical tape as a guide. this worked out well. the fiberglass picks up every fine detail of the mold, so two layers of electrical on the plane to define the windscreen edge produces a very clear line to sand/trim to.
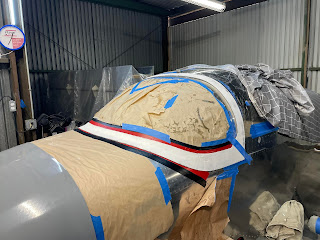
I am now following DanH's excellent post right here of VAF for the fiberglass finishing. I covered the outside in epoxy (epoxy straight with no fillers or additions) and covered the outside with peel ply (Dacron fabric). This produced a very nice even finish that has grip for the next layer. The next layer was a covering in epoxy and microballons, like DanH suggested.
I started sanding down the micro mixture. I was doing this on the bench, but there it was hard to hold the windscreen and get a good sanding perch. (first picture below). Today I laid down some vinyl tape on the plane, and set the windscreen on the plane to hold it while I sanded. This worked out much better. It was like the holding fixture (the plane) was custom molded to the fixture (uh it actually was) (sarcasm)
Seems this will work out well. This method doesn't seem so bad, I just need to be very careful with sandpaper next to canopies.
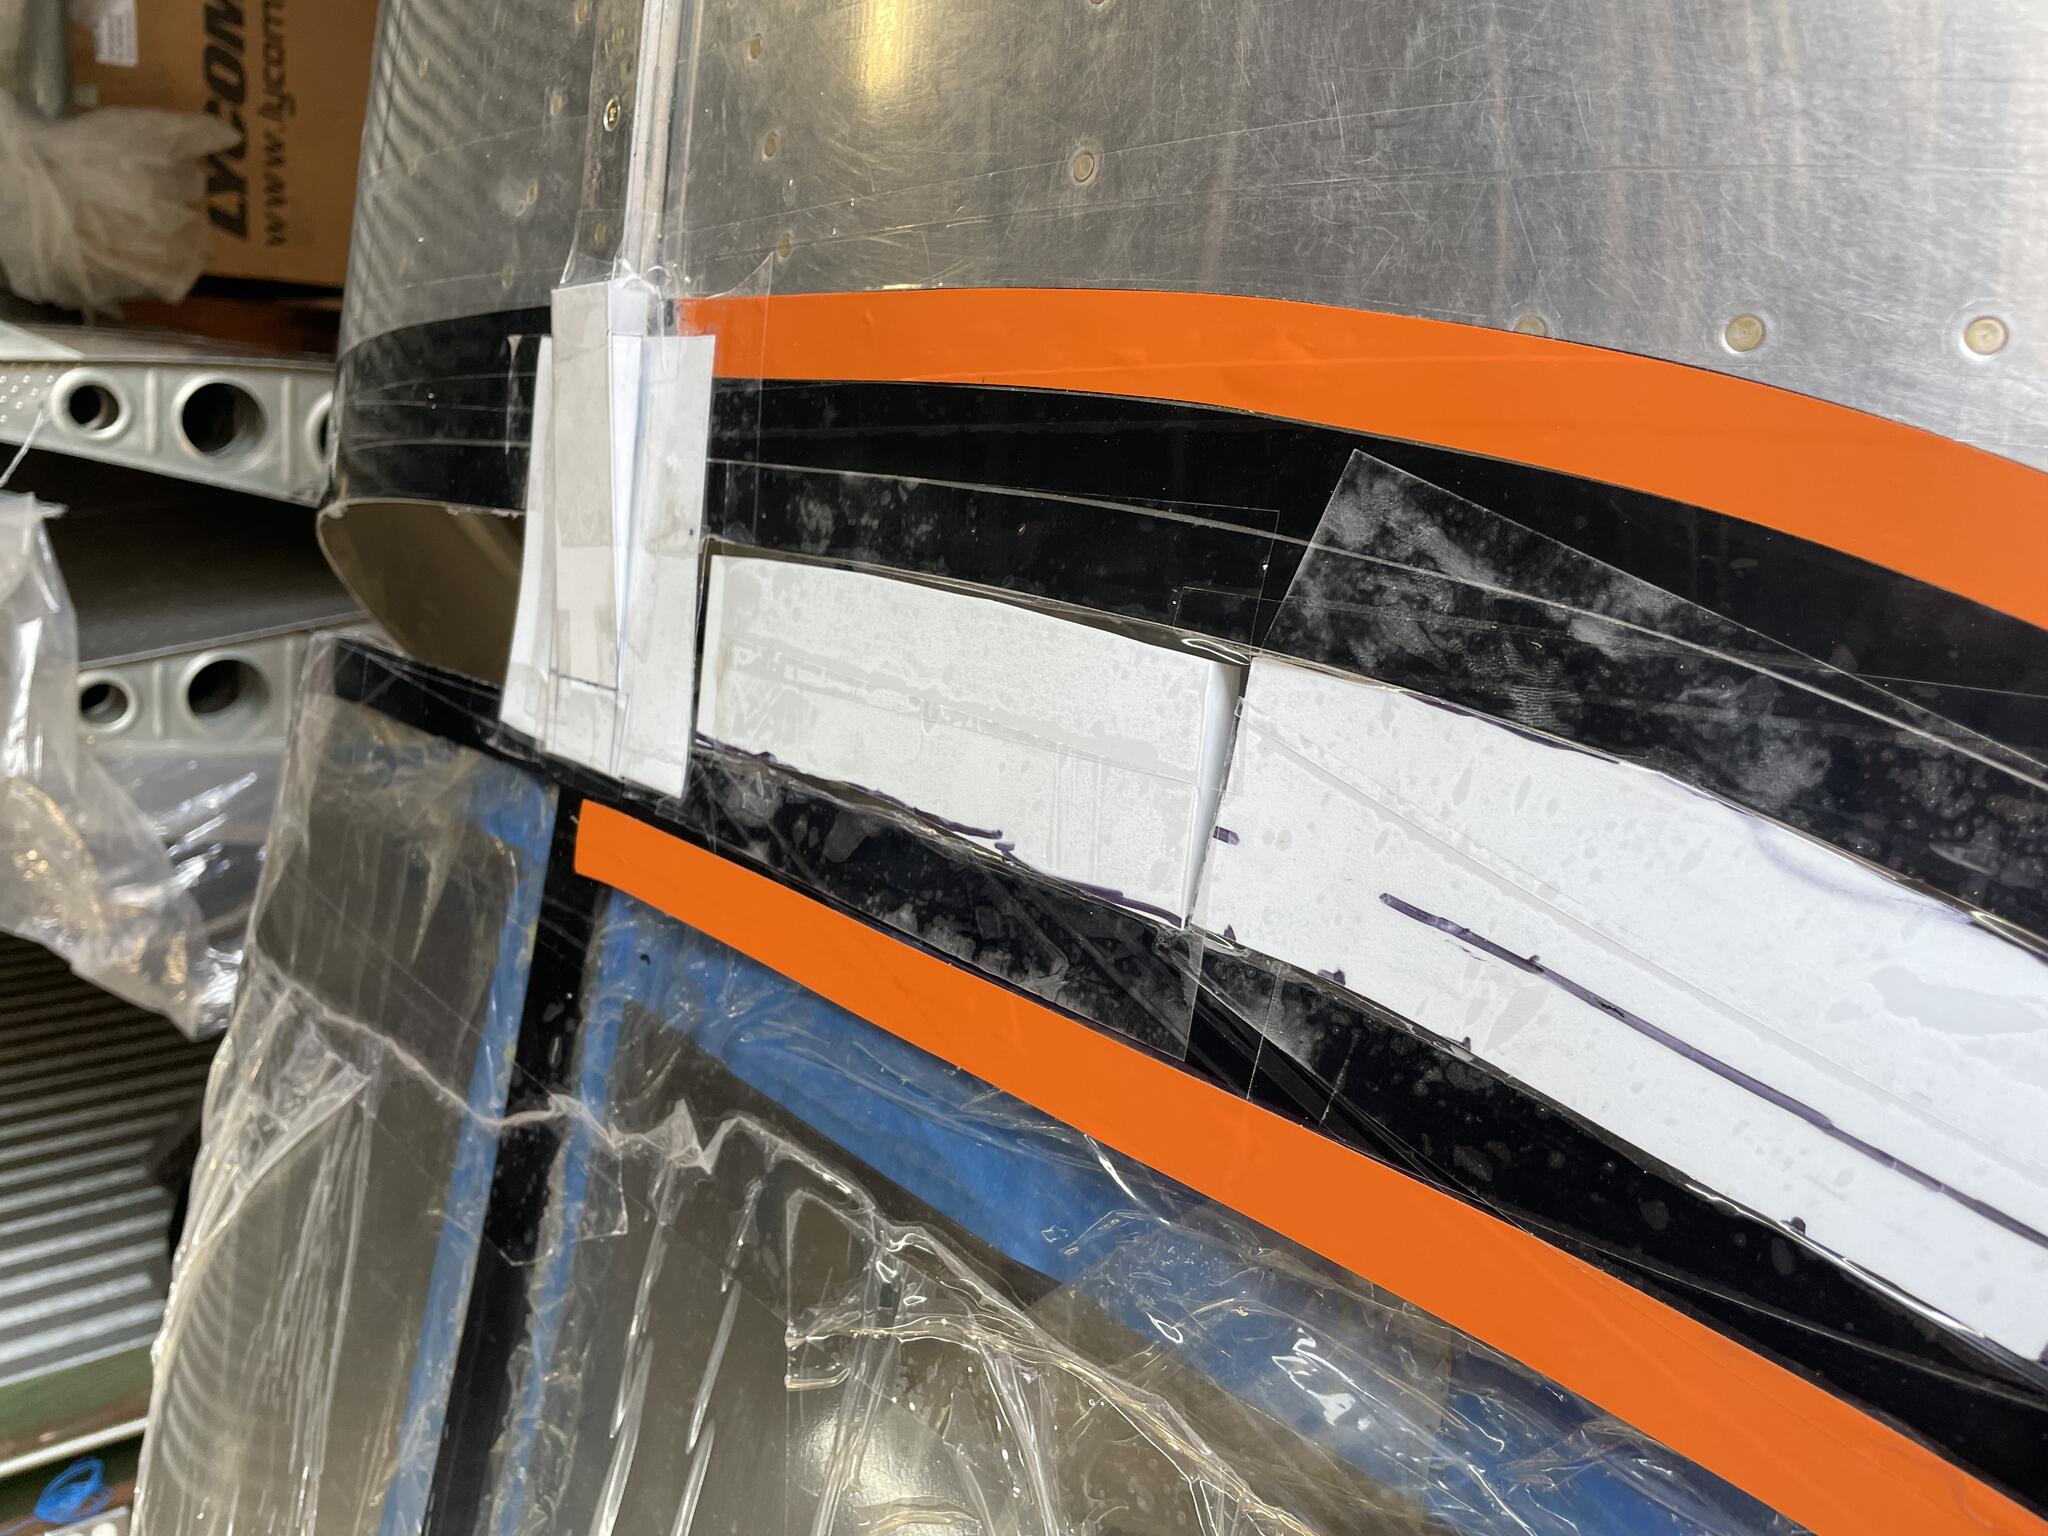
I still have to do the rear skirt. But I learned that neatness counts; the better the mold (in this case the placement of the packing tape) the much less work the finishing becomes.