Here is the bountiful harvest of clecos. And a warning. Just go ahead and order a thousand 3/32 clecos; if ordered all at once, there is a break in the price at a thousand, and the shipping is only one time. I am on my fourth cleco order; UPS is making bucks on shipping. Here is my cleco farm, ready for harvest. I am doing both wings at the same time, so this is only one of the two wings, Yes I ran out of clecos; the rest are coming in time for the tanks. Total cleco count will be slightly more than a thousand.

I didn't quite follow the plans when I put the J stringers in. I indeed drilled through my finger, even though the plans say "be careful don't drill through your finger"
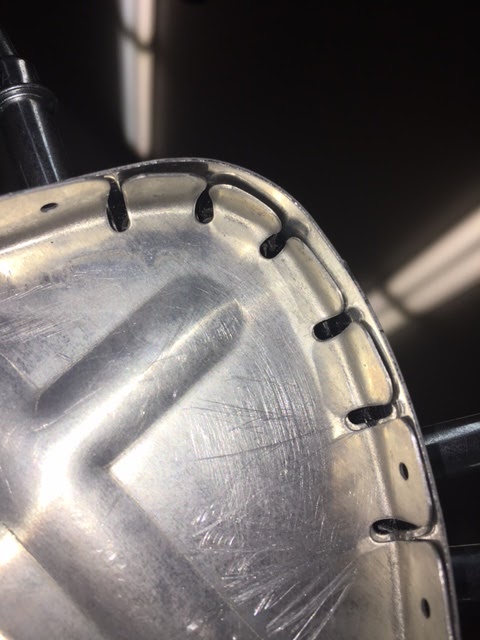
The leading edge ribs are notoriously for being hard to fit into the skin. After reading many blogs of those who came before, I decided to reshape the leading edge ribs. During my first attempt, when the virgin ribs were inserted into the leading edge skin, the rib flanges were actually warping from straight in order to fit the leading edge radius of the pre bent skin. This is ugly, and causes scratches and bumps on the leading edge of the skin. When compared to the fiberglass tip, I think the pre-bent skins have a different leading edge shape causing a poor fit. After reading many blogs of those who came before, I decided to reshape the leading edge ribs. Here is a picture of the virgin rib fitting onto the skin. Notice how the tabs in front of the prepunched hole are holding the skin away.


No comments:
Post a Comment