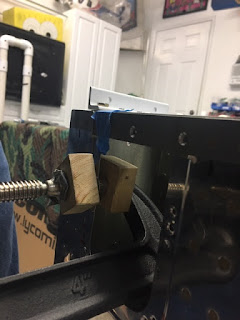
After the tail fairing, I finished the inspection plates for the elevator. I did not dimple the holes for the nut plates when I built the fuse. My squeezer was too big to fit for all the holes. I had to get creative and use some blocks of wood to hold the dimple dies and a large c clamp.
Friday, January 24, 2020
Quick Fuse update
So I have been working on the tail fairing now that the tail mechanical attach is done. I figured I would get it done before the tail comes off. The stock fairing fits really nice; much better than older posters have led me to believe. I used the cut lines, but these were too severe in the rear, so next time, I would leave a little extra there and trim, fit, trim, fit, etc. Nothing major for mounting, just takes time to find the underlying holes in the fuse. I measure the location of the holes in the fuse without the fairing; added the fairing, marked the hole locations on the fairing, then drilled a #50, then a 3/32 hole in the fairing, cleco'd and moved on to the next. Next I will enlarge the holes to #40, countersink the fiberglass for the #6 flathead screws, then enlarge the holes to #6, remove the fairing, and install the riv nuts.
Subscribe to:
Comments (Atom)

