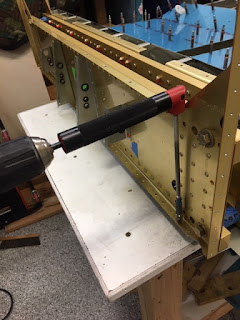
There was quite a bit of work to get to this point. Painting the inside was the most stressful for me having not touched a paint gun since last century; but in the end, this was not nearly as bad as I had imagined.
Along the way, I did run into a few things that had me puzzled. First off was the holes for the tail fairing. The plans led me to believe all the holes in the rear longeron get dimpled and countersunk. However, others have warned that several of these holes get tapped for screws to hold the fairing. The fairing is part of the finishing kit, so I don't have that piece. Vans was kind enough to send me some pictures of what holes need to be tapped. So I left these un-dimpled. From what I understand, the quick-build kits have these dimpled, so no crime either way. Here are the pictures from Vans showing the holes that can to be left un-dimpled.
Secondly, I had trouble with the jog in the forward longeron fitting properly. Vans approved me using a second angle and some shims as shown below. This is a little different than my previous post.
Lastly, several of the screws in the forward bulkhead need to be countersunk so that the rivets would be flush for the gear mounts. This is how I did that. I also had to use shorter rivets to make it all workout.
A few of the rivet lengths need to be adjusted. Just had to pay attention to catch them.
Overall, this part of the build gave me the most nightmares, but like eating an elephant, it was conquered one bite at a time.
Now back to building.


