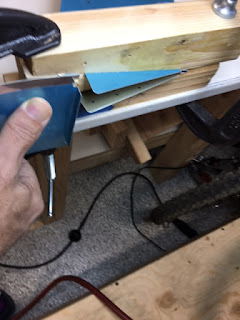
So the elevator trim tab went well but I did not follow the directions verbatim. They say this is the part that everyone has trouble with, and if I had followed the directions exactly as written, I would have had trouble too. But planning this out yesterday, while the internet data was being received, I decide that there was a better way.
I followed the plans as written up until the trim tab horn is dimpled. I chose to dimple and rivet the trim tab horn after the ends were bent over. But let me walk through the order I did things.
I matched drilled the holes and deburred per the plans, but did not dimple any holes yet. I bent the trailing edge to the correct angle as per the plans using a 4 foot section of 2x 4 and some el cheapo hinges from the aviation aisle of Lowe's, as per the plans.
Then I built the bending blocks for the ends as per the plans.I practiced on some scrap aluminum until I felt comfortable working on the expensive stuff. I left the blue plastic on and used double sided tape to keep the blocks from moving as I dressed the ends. This didn't work completely as planned, as the trailing edge in the forming blocks still moved a little as I bent over the ends; but still came out acceptable. I used a piece of 1" x 2" wood to start the bend. Then I used the flush rivet set in the rivet gun and really gently smashed over the edge till 90 degrees. I had previously filed in a 1/16" radius in the bending block to form a nice radius in the finished bend. I worked the gun back and forth until the bend radius was even without smashing it completely.
The skin area for the trim tab horn was not dimpled or riveted earlier (as the plans would have had you do) because then the trim tab wouldn't sit nicely in the forming blocks. So now I went back and dimpled the trim tab holes.It is interesting to note the #40 holes in the spar and the skin seemed to already be punched to final size, but I went back and reamed them anyway to clean up the holes.
Then I riveted the trim tab horn to the skin, except for the trim tab to spar holes, per plans. There is a spare to skin hole outside of the trim tab that I didn't dimple before the trim tab horn was riveted on. So I had to dimple this after the trim tab horn was on. This presented a problem in that there was no enough room next to the horn for the dimple die to sit down properly. I ended up drilling a hole in some scrap aluminum the same thickness as the trim tam horn and dimpled these two sheets at the same time In the picture below you can see the hole and the scrap sheet. Next time, I will dimple this hole before the horn is riveted on. I also bonded the two halves of the trim tab together, using JB Weld, to keep the moisture from wicking in between and possible causing corrosion.

When riveting the spar to the lower trim tab skin, the tungsten bucking bar is essential. I don't feel this can be done without a tungsten bar because the normal bars are just too big.
Everything else that followed, was done per the plans. nothing special.
I should be seeing the replacement parts for the elevator tip rib in a few days, so I will be finishing that up.


